My Vintage Wall Clock Makeover
Do you love a good makeover? Let me show you how I took this Vintage Wall Clock from dated to beautiful!
I’m very picky about what I’ll paint and even more picky about what technique I will use when I do decide to paint something and sometimes, less is more.
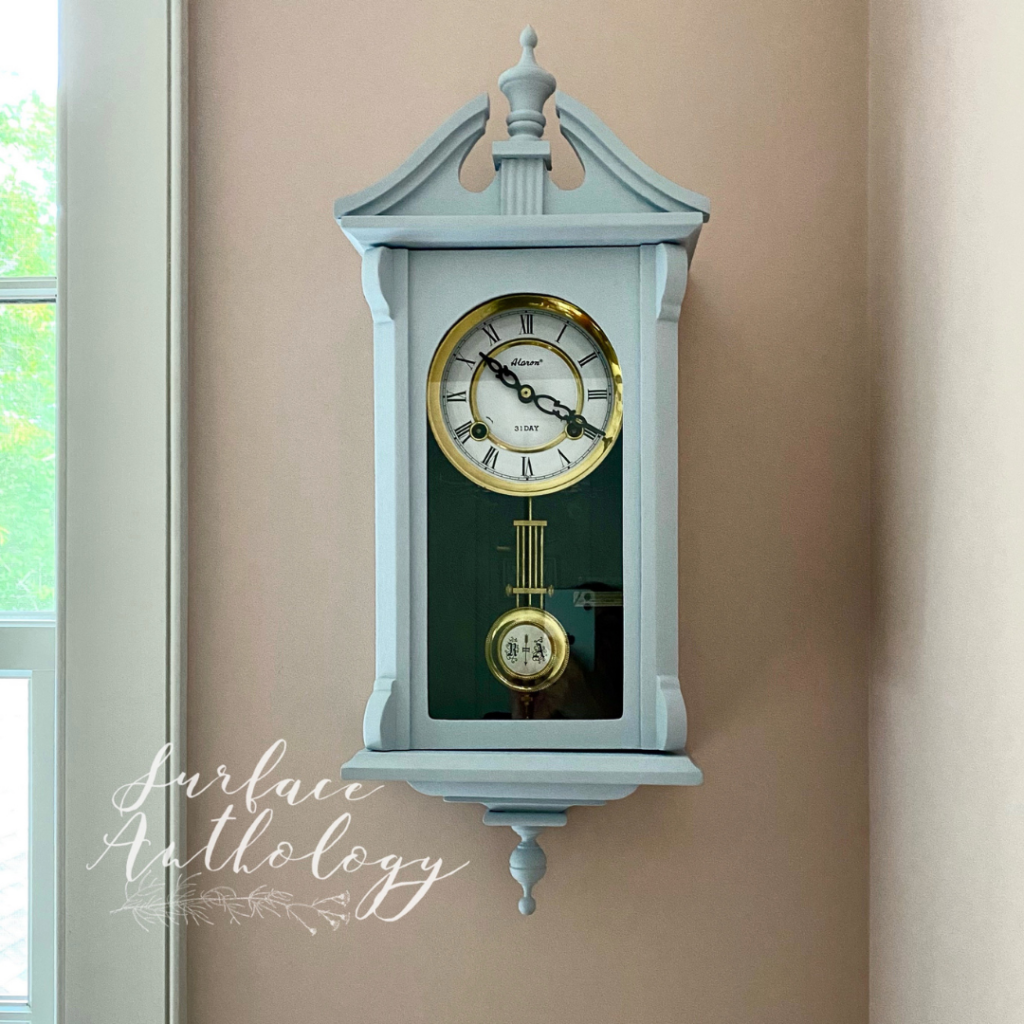
That’s the case with this vintage Alaron 31 Day Clock. While moving my husband's home office from the first floor to the second floor of our house we found this clock hiding on top of some shelves.
I was instantly smitten, with the shape of the clock, the finish not so much.
After doing a little research to make sure this wasn’t a super valuable piece, they sell for $50 to about $100, I decided to paint it. I knew it would live in my sewing room and that made picking out a color quite easy. The walls in that room are a soft pink and I wanted the same softness with some contrast for the clock color and went with Lake Como Nights a pale gray blue. Check out this other makeover I did on a tea towel rack that will also be in my sewing room!
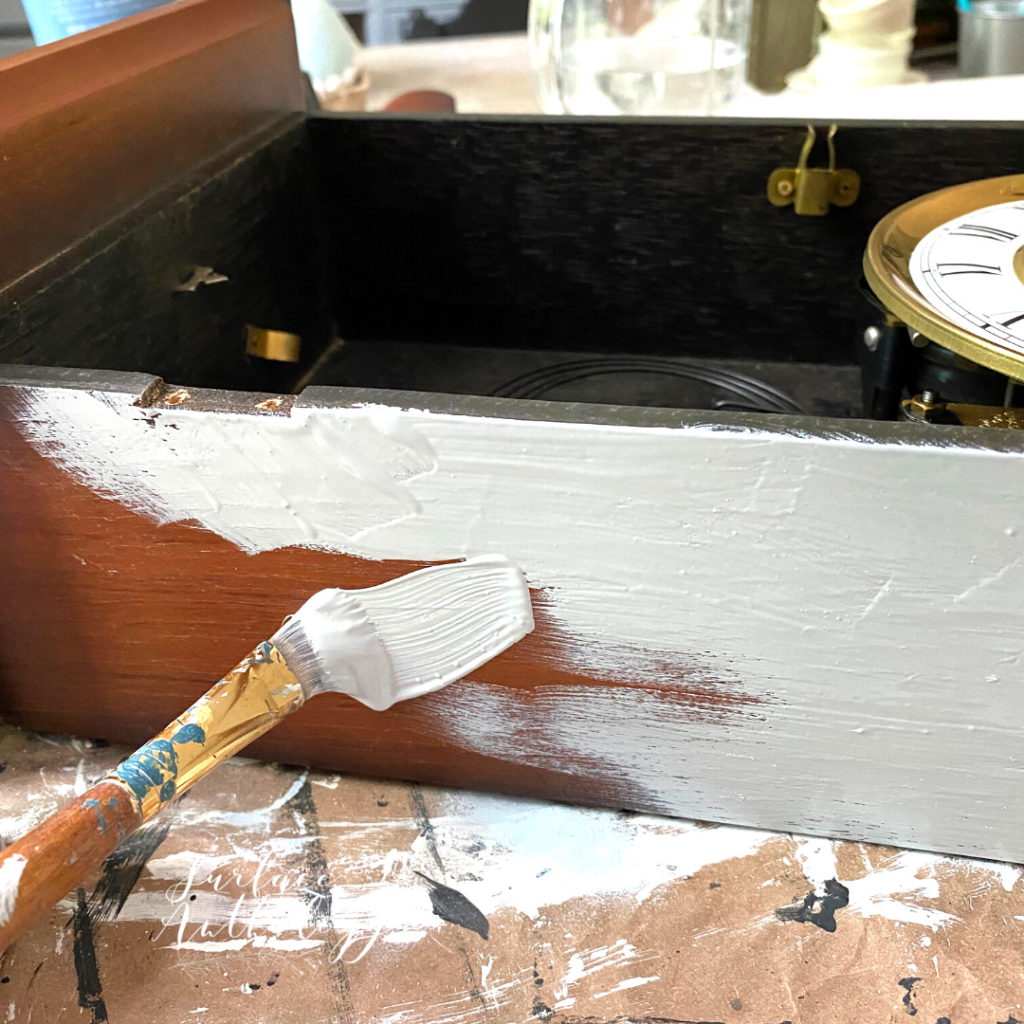
As far as paint technique goes I kept this clean and simple, like I said, less is more. I wanted to emphasize the shape of the clock and make it as graphic as I could. So that means just painting it with no distressing, layering or anything else.
I chose to use One Step Paint, a chalk paint with a built-in top coat, this way I get a dead flat finish that I won't need to wax, perfect for this kind of project.
Here’s what I used:
Amy Howard at Home One Step Paint in Lake Como Nights
Artist’s brush
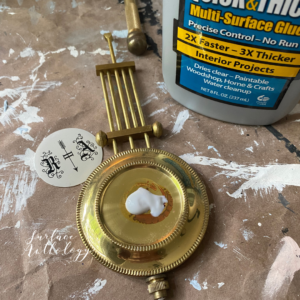
Titebond Quick & Thick
Razor
I began by cleaning the exterior of the clock well first by using a natural bristle brush to dust and then a wipe down with a damp cloth. The inside and clock works were left alone as I didn’t want to mess anything up!
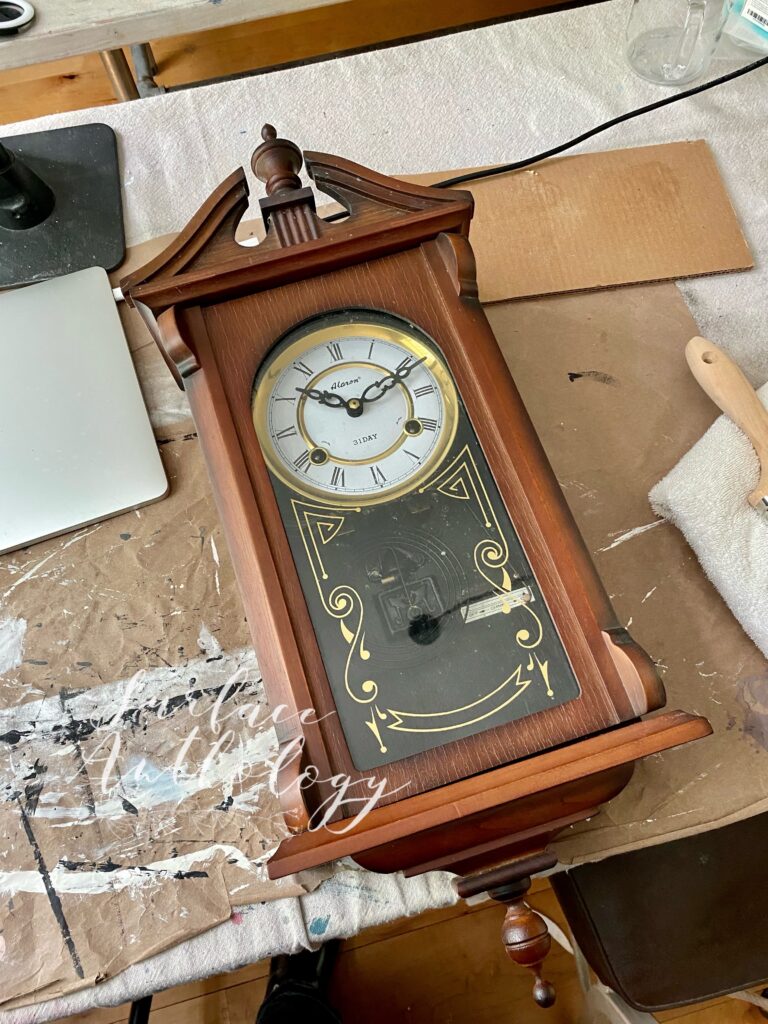
I carefully removed the top and bottom finials (I was concerned that I could snap them off while moving the clock around to paint) and the door.
After removing the door I carefully took the glass out.
I applied 2 coats of the One Step Paint to the exterior body and door and let dry thoroughly.
I wanted to remove the gold design on the glass and used a razor to scrape it off.
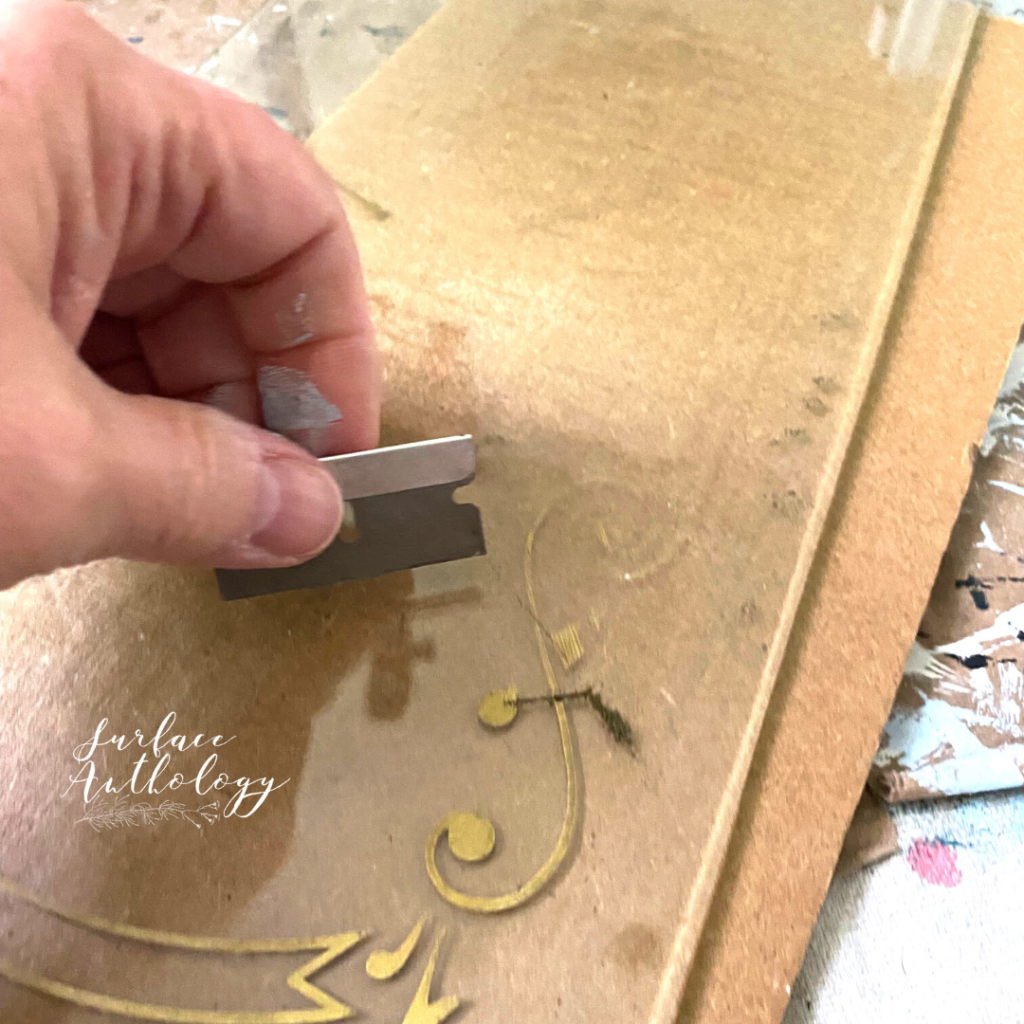
Using Windex I cleaned the glass very well and put it back into the door.
I attached the door back onto the clock.
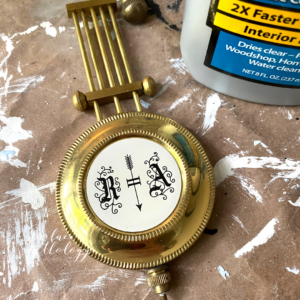
The Pendulum ‘seal’ needed to be re-glued and I used a dab of Titebond Glue.
After hanging the clock on the wall I hung the pendulum.
Time to Wind the Clock! And don’t be like me and be sure to set the time first and then wind 😉
I have another favorite clock in my home which is much older and a little fussy but it's beauty makes it worth the trouble, you can see the post I wrote over here.
I hope that you found this quick tutorial useful and am so happy you visited! Please join me as a regular here at Surface Anthology by signing up to be on my VIP list!

To see more please check out my Facebook, Instagram and YouTube channel!